Showing posts with label interior. Show all posts

25.9.16

For a lointering teen

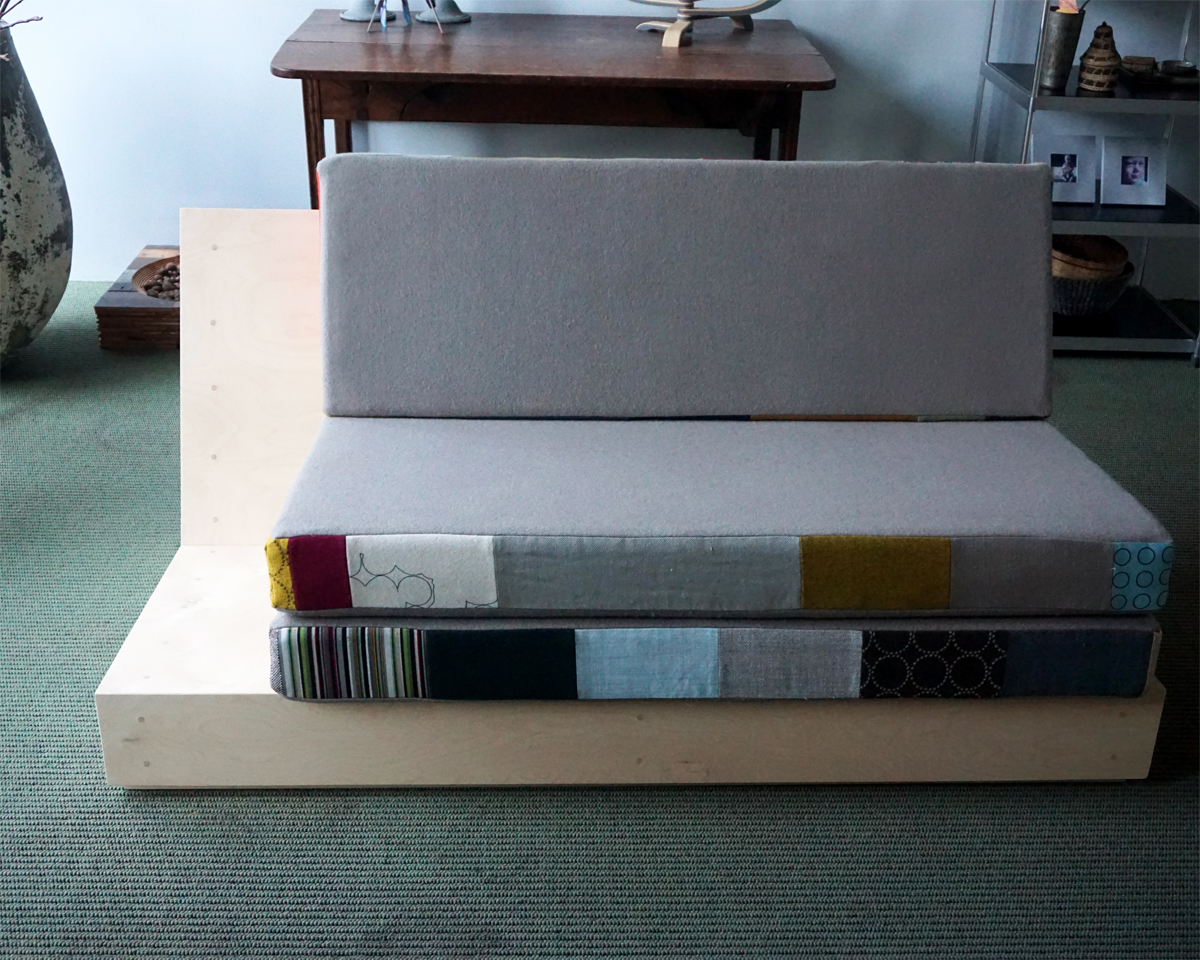
This summer M got 15! My boyfriend and I decided that a little couch on her bedroom would be fun for a teen like her. The couch measures 150 x 70 cm.


In the office I'm working with a (for me) new software program and the drawing of this couch is a very first result. The couch is simply made of birch plywood panels, that are joining in miter angles.


The wooden base was made by my boyfriend, who screwed the panels in advance. These screws we later removed and replaced by massive wooden rods.


The cushions are custom made, but the covers are made by me. The making appeared more difficult than I had in mind. I used Kvadrat samples for the sides, the rest is made of a warm grey wool fabric with a felted look. Some samples appeared too thick for the corners, but because of timepressure I couldn't change the composition anymore. Better corners are something to improve next time.
The covers have long zippers, so they can be cleaned once in a while. Tip is to make two zippers in line, in order to get the zipper ends in the middle of the cushion and invisible from the sides.


We didn't make it to finish the couch in time. Last week I finally had time to lacquer it with a super mat paint called Skylt. The result is that you can't believe it's painted. It has a very natural look, that M very much preferred.
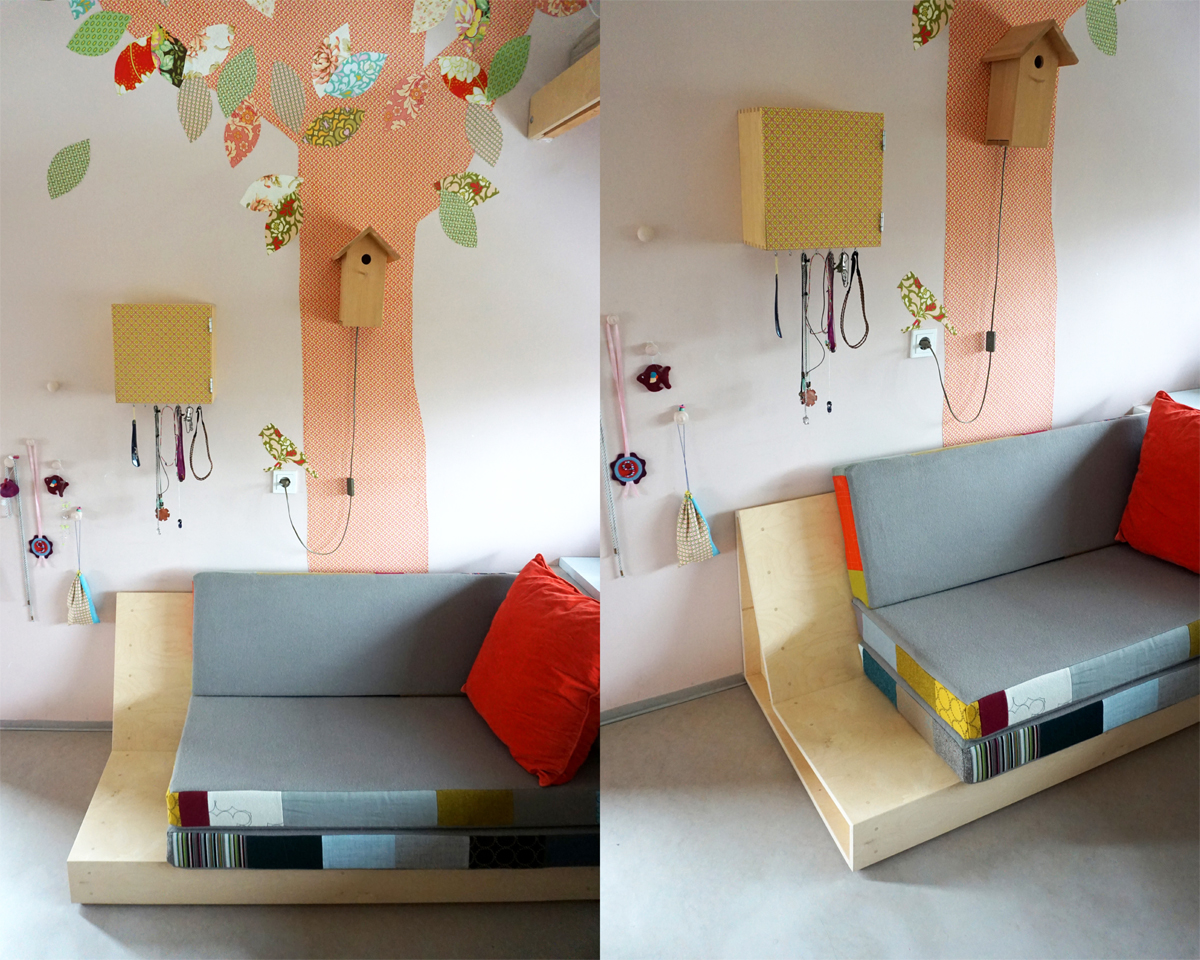
On the first picture you see the couch installed in her room, where she is able to use a soft pillow in the corner. Welcome to the teen lointerer!

2.5.15

Tray tables


When I had my birthday this year, I decided to organize a little party. I made a plan of how my friends would stay in our living and decided that some side tables were missing. To avoid spending a lot of money, I came up with the idea of using the two baskets, that we use as storage for yarn etcetera. Storage is still in function, while two aluminium Moroccan trays were added on top. I did some effort to paint them nicely.
During my search for the right trays I was lucky: I measured the diameter of the baskets, which was 46 cm exactly. In the Moroccan shop I found these trays with a sticker on them, mentioning 46 cm :).

25.10.13

M and make up?


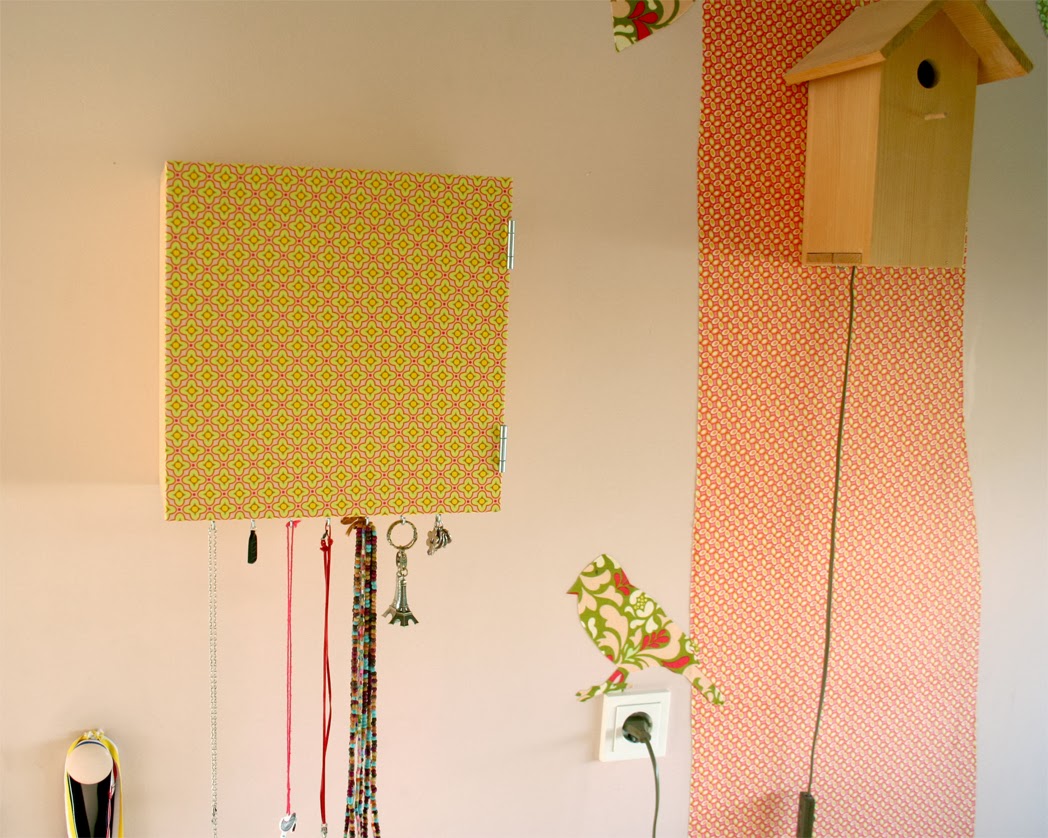
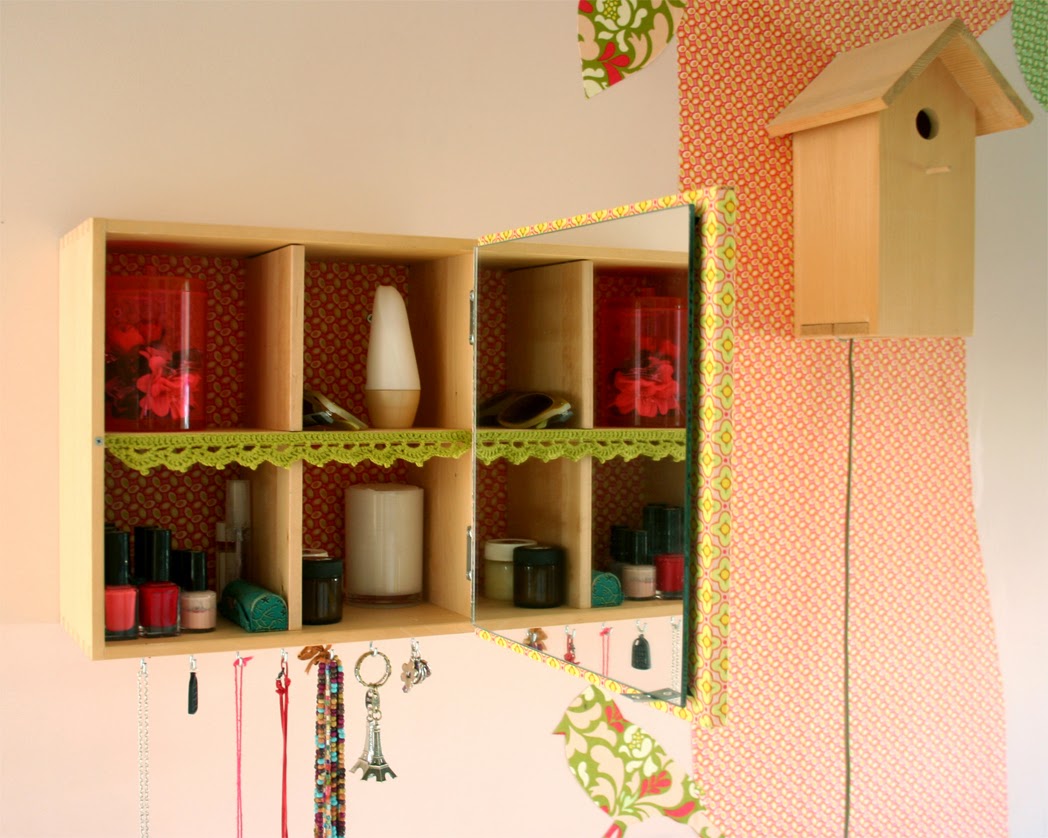
This locker is hanging on M's bedroom wall in order to organize nail polish, hair elastics, etc. It's a present we made for M's birthday last summer, but never showed it on this blog because the green edge had still to be crocheted. Now it's like it was in my mind.


An unused locker of Ikea is used. I covered the front and the inside with a leftover fabric of her tree and a mirror was mounted on the front. Because the locker had to close properly it turned out a quite precise job to do. But we managed.


Here you can see the different stages of mounting double sided adhesive foil to the fabric, cutting, folding corners and finally sticking to the front.

18.3.12

Come in!

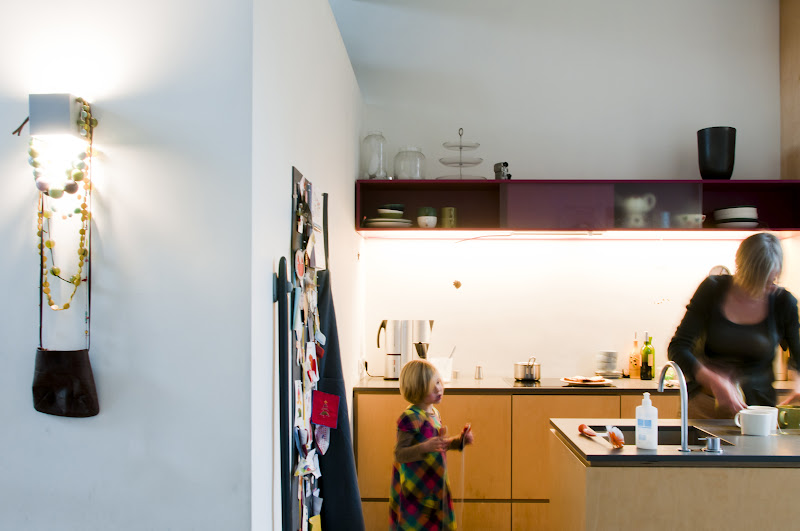
My former colleague David is studying photography. He asked me if he could shoot the interior of our house for a study project. I love the shoots so much, that I want you to enjoy with me. But doing so is rather exciting too, giving some privacy to the www...

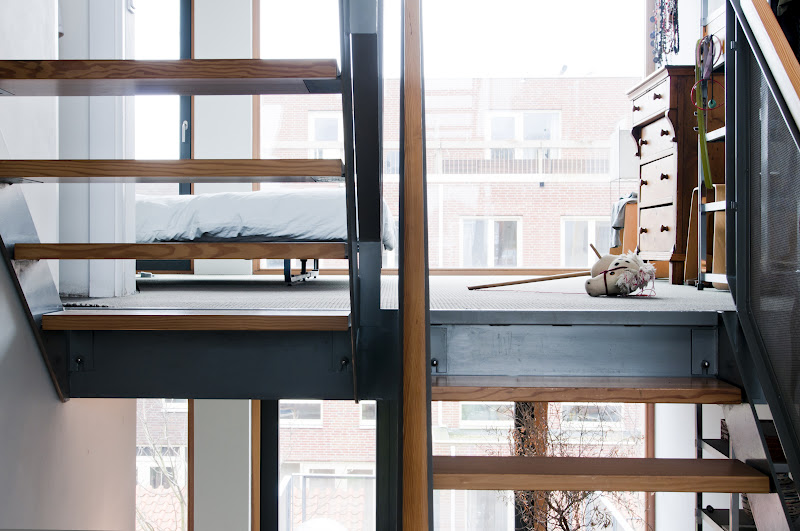
About the one above, this is really one point of view in our house: from our play floor into our - one could say - home office on the left and back to the kitchen at the right side. Sitting behind the computer, you can look down into the kitchen as well. Behind the wall in the middle is a storage from floor to ceiling, filled with playthings (games, puzzles, etc.), nicely hidden behind sliding doors.


In the past I often made pictures in our house, but the view of a visiting photographer appeared to be fully different. That's why the series are surprisingly good to me. I think they look promising!

7.2.12

Wash your hands!

Let's talk about the smallest room in our house for a change. And washing your hands in there. I like to show you another cabinet that was designed some time ago, but that we enriched recently by adding some diy-music! Can you see it?


This basin unit was created in order to collect all needed items in only one piece of furniture, an all-in-one.


The inlaid mirrow above is as wide as the cabinet. The kind of used wood, birch plywood, is applied more often in our house, as you saw here, here and here. The wall lamp is this one. It's bigger brother you saw here and here already.
(Pics aren't fabulous, but you know it's wintertime...)

8.1.12

Paper for L


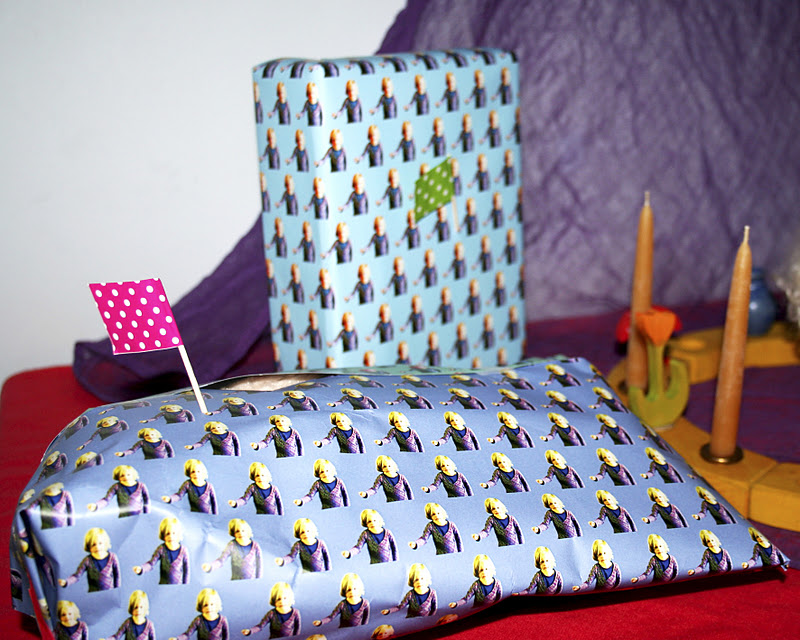
As I told you L turned 6 last Friday! For this special day I suddenly came to this paper design. Wanted to use it for her treats in school (see later), but also used it for decorating our hall ...

... and wrapping her presents.

4.9.11

Frosta for Rena

Sometimes people are that sweet, you just want to bring them self made presents. For Rena I did before. And I loved to see that this former present was even in use yesterday!
She gave a housewarming party. To make her spacious new living a bit less empty I thought it would be nice to bring along a small piece of furniture.


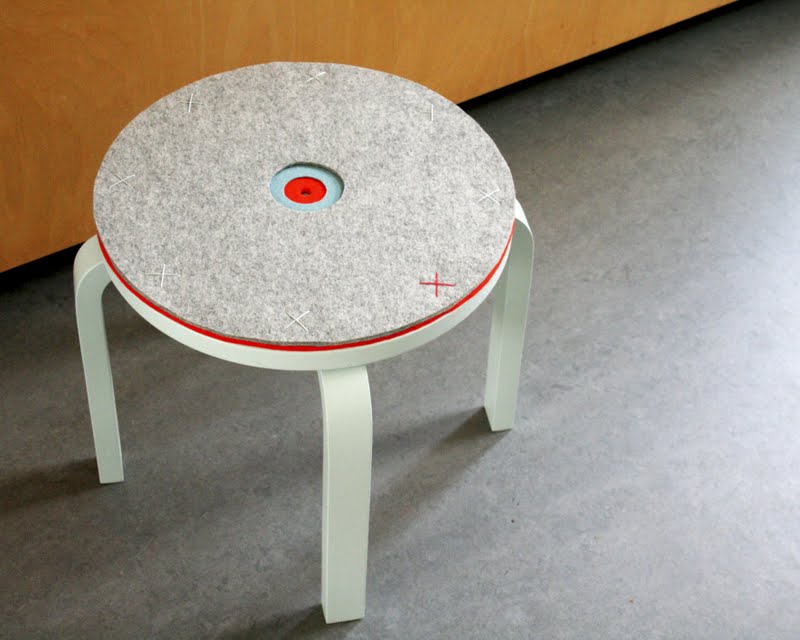
This great styled idea inspired me. The felt was bought at Wernerkinck in Delft in thicknesses of 5, 3 and 1 mm. Colours were chosen in combination with Rena's Eames' chairs. The legs of an Ikea Frosta were shortened to make it more suitable for little kids. One of them is growing in Rena right at the moment :). An option is to reassemble the legs slightly inwards, I might do that next time. The thread of the crosses went all the way through drilled holes in the seat (thanks F for doing this drilling part of this little project). There was no need to use adhesive foil to fix the seat cover. The funny part was Rena's reaction: Oh, I know where to put it! And she placed it next to her red rocking chair right away.
There're so many possibilities to design such a stool. Go ahead and make your one! It gives you energy!

9.4.11

Ordering

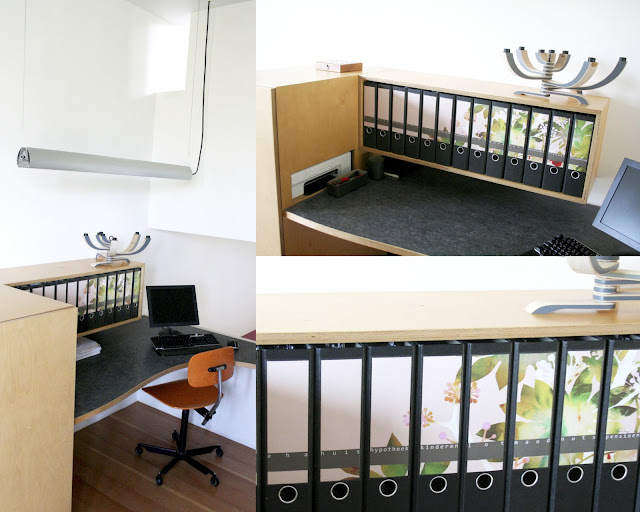
Our kitchen has a high ceiling. While sitting here behind the computer, you can look into the kitchen, smell the cooking and ask for a coffee easily :). It's a great spot to make pictures during birthday parties too.
Actually this furniture consists of three parts: a cabinet you see in front, a tabletop and a floating cabinet above the tabletop. Because our house is our own design we made the opening in the wall as wide as the tabletop we had already. This week we mounted the floating cabinet again. For years it was standing on the ground, filled with Lego. As our girls are no Lego lovers, we decided to use the cabinet again where it was designed for in our former house.


Furthermore I made new labels for the folders to make them a bit more attractive. Covered each paper label with adhensive foil, slightly bigger than the label itself and sticked them to the folder. I'm happy, because it took some time to administrate and order the folders. Now it's up to date again, pfff. The view on the folders will hopefully stimulate to do the administration on a more regular base.
Btw 1, do you see that hole in the side of the cabinet? It's made for the printer, which is housing together with the hard disk inside the cabinet. And btw 2, do you see that little hole in the corner of ceiling and wall? I'll write about that later...

19.3.11

Tord

Who (except the Dutch among you) knows Tord Boontje? He's a Dutch designer, known for his floral designs on textiles, furniture, tableware and so on. If you're triggered you could go here to read more about him.
In the office I often use his floral textiles by Kvadrat, but I'm not an overall admirer. We have one little item of him in our sitting room: this long metal garland of flowers that is wrapped around a light bulb. You buy it as a flat metal sheet in which the garland is punched. We had to break it out of the sheet. Love this genius idea, so great job Tord!

14.3.11

Nails

We have this nail wall in our house. It's ment for temporary expositions of pictures and drawings. The first years we lived here, we did change the wall on a regular base. You can see that it has been quite some time now! But these pics are still so precious to us.
The idea was so incredibly simple: just make a grid with nails (can you see it?) on an empty wall, to hang wooden boards. I promise you the realisation wasn't that simple. The nails couldn't be hit into the concrete wall just like that. At first we drilled holes in the wall, entered plugs inside, hit the nails and plastered the rest of the holes around the nails. Long time ago...

19.2.11

Livingroom fragment

This week I posted about the vase of Hella Jongerius. The sunlight on the day I made pictures was so beautiful, I couldn't resist making some more pics. After all I promised to write about our interior too.
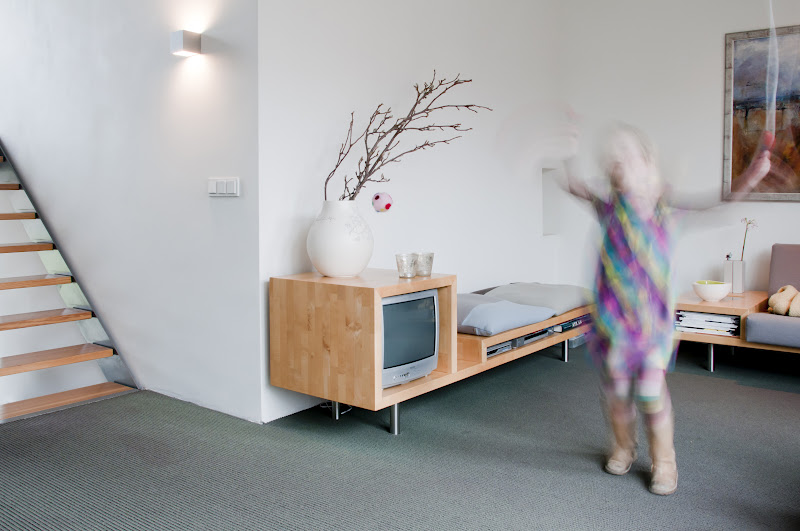
I designed this cabinet a long time ago. It's made of solid maple wood. Do you see how old-fashioned we are? No LCD TV on the wall! With such a blog life there's simply no time left to watch TV. So why buying a new one ;).

15.2.11

Great woman

Last Friday I visited the very popular exhibition of Hella Jongerius in Boijmans van Beuningen, the main museum in Rotterdam. Ad, a dear friend, knew he had to take me with him. I so loved to be there! Little L too, she had to search for our vase!
Hella is fabulous with designs and colors. I couldn't resist to make these pics and to buy her corresponding book. After all it's my birthday today ;). But when you click on this link you have a very fine and much better overview of her work.


Back home I finally embroidered her Ikea vase.

22.1.11

Detail

For the bedroom of our youngest I made this washed woolen, uni colored curtain, matching the color of her wall perfectly. The fabric doesn't need to be finished, which I like in this case. Nevertheless I made some decoration. On that side of the curtain where we push it, I sewed a nice edge made of different kinds of fabric remnants. (Hopefully the pics are clear enough for you...)
A little secret is the aluminium strip I pushed in the edge to keep it straight.

10.12.10

To stay overnight

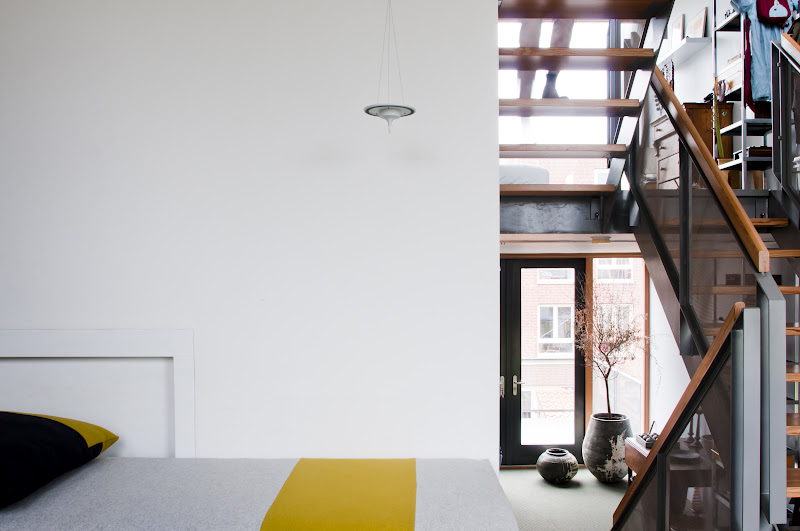
We needed a sofa bed, but where to find a goodlooking one? As more often we solved the problem by making one ourselves. And this idea, a DIY sofa bed, I do recommend! We bought two good quality mattresses (no Ikea) and linked them by handstitching the long edges together with a strong thread. Then I made a cover. Doing this I suddenly got stressed because I accidentally cut the fabric in a wrong way. That's why the colored part was added. But I don't regret it at all! On the bottom I used one very long and four little zippers. So, one guest can sleep directly on the sofa; in case two people are going to stay overnight we get off the cover and rotate the upper mattress.
A tip about the upholstery I used. Some of you maybe know the beautiful fabrics of Kvadrat. Their Divina is used on a regular base in my professional projects. For this sofa bed however I used a slightly different option: the so-called Europost of Gabriel. This fabric is some cheaper and stronger. And I think the ocher is the most beautiful colored woolen upholstery there is. The picture doesn't show it properly; you should see it in real!

8.12.10

Staring at leaves

M loves this tree on the wall of her bedroom. She has a loft bed with direct view on this tree. Often we just cosily stare at the leaves to discover objects in the patterns of the used fabrics.
Last year I couldn't decide whether to buy this (in the meantime everywhere spotted) tree of Dutch Inke or not. But because of the high and sloping ceiling, it was clear that this tree wouldn't work out. So it became an own version made of different fabrics instead of wallpaper. To be honest, this way it turned out to be such a hugh project, that I wouldn't recommend to copy my idea. Although the final result is well succeeded and sustainable. The honours of the design of the tree and the detail with the bird go to Inke.

30.11.10

Stretched cabinet

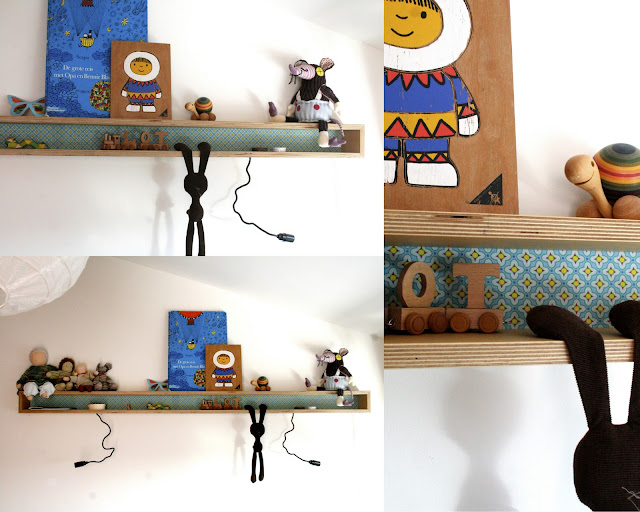
In our house we have quite a lot made of birch plywood. So is this little cabinet in L's bedroom. I love the bit strange and stretched proportions. In our former house it was designed for hanging with reading lamps above our bed.
Lately I covered the back with a nice fabric of Heather Bailey. The two lamps are still not in use, and plans are made to make a pinboard underneath the cabinet. I'll report about that, but be patient.

15.11.10

Precious

One of the first well-beloved items I made for baby M was a mobile, which is nowadays still hanging in her room. It is made by wrapping handspun wool around a wire. I added some green felt leaves and made some spirals of green wire. The little wooden gnomes are simply dressed in felt. A cristal is hanging in the middle, like a treasure of the gnomes, that is breaking daylight and can make beautiful light projections on the wall.
By the way, these lovely chubby little arms are belonging to baby L.

Dear Molly of Remedial Eating, I hope you enjoy this post :).

4.11.10

One knob, two knobs

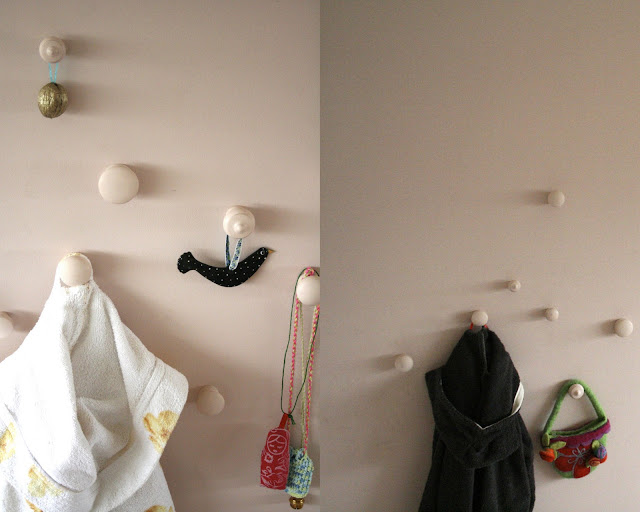
Oh yes, the girls got a pink wall in their room. But their mother had to like it too! And she certainly does. The wall became this color (for those very interested among you: it's Dutch Sikkens D6.07.77 or NCS S1010-Y70R).
When finished we painted more. I bought plain wooden knobs in the local diy-shop and sprayed them in the same color. Unlike the Hermitage, but we are very happy with the result.

Addition: Today I had so many visitors and sweet comments on my blog... 600 visitors and 1500 pageviews... pfff, it makes me shy. Thank you so much for passing by!

3.11.10

Inspiration

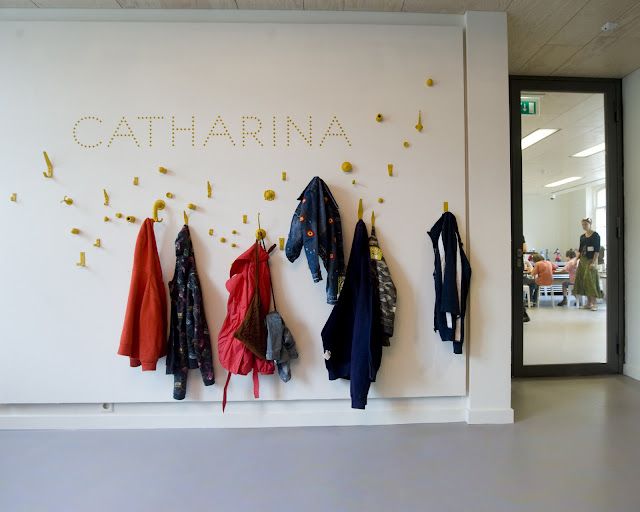
Do you love this image like I do? It's the wardrobe of the Hermitage for Children in Amsterdam, designed by Merkx + Girod. 
The image inspired me to make something in our house, but really not so beautiful as done here! I'm going to show you what I made, so stay tuned...

27.10.10

Nightstands

I like to show you our nightstands, that actually hang about 10 cm above the floor... After sending the design to the furniture maker, he asked me: so you mean like a door, but it is a cabinet? Yes, that's what I mean.
The open side of the wooden cubes is against the wall (a wardrobe in our case). You can turn them for making the bed easily and for using them as storage. The outlet for charging the mobile phones is out of view.
Finally a detail for freaks like me: the direction of the wood is vertical on the sides; on top a piece of a wooden panel is used with no clear direction.
Related Posts Plugin for WordPress, Blogger...